Download the latest version of Rails available from its official site: http://rubyonrails.org/
The Current latest version is 4.0.2 released Dec 3, 2013
Before you start installing Rails, you first need to have the appropriate version of Ruby for your Rails on the chosen platform. For Rails 4.0.2 on Windows x64 bit systems, the supported version of Ruby is Ruby 2.0.0
Download latest version of Ruby from its official site: http://rubyinstaller.org/downloads/
In order to successfully build your development environment you need to install the appropriate Development Kits (DevKit).
Download latest version of Ruby Development Kits (DevKit) from its official site: http://rubyinstaller.org/downloads/
- Run the Ruby 2.0.0 MSI installer.
- Extract the Development Kits file and copy it to an easily accessible location. I used: C:DevKit-mingw64-64-4.7.2-20130224-1432-sfx
- Then launch “Start Command Prompt with Ruby”

- Then run the Command: ruby dk.rb init (Initializes the Ruby Gems Environment by creating a "config.yml" file in the current directory)

- Then run the Command: ruby dk.rb install (installs the Development Kit)

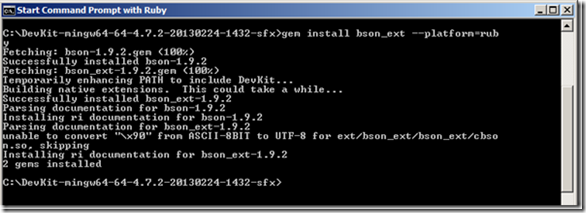
- Then run the Command: gem install bson_ext –platform=ruby (will set the environment to use platform variable as ruby)

- Then run the Command: gem install rails (This installs the Rails and its gems)
